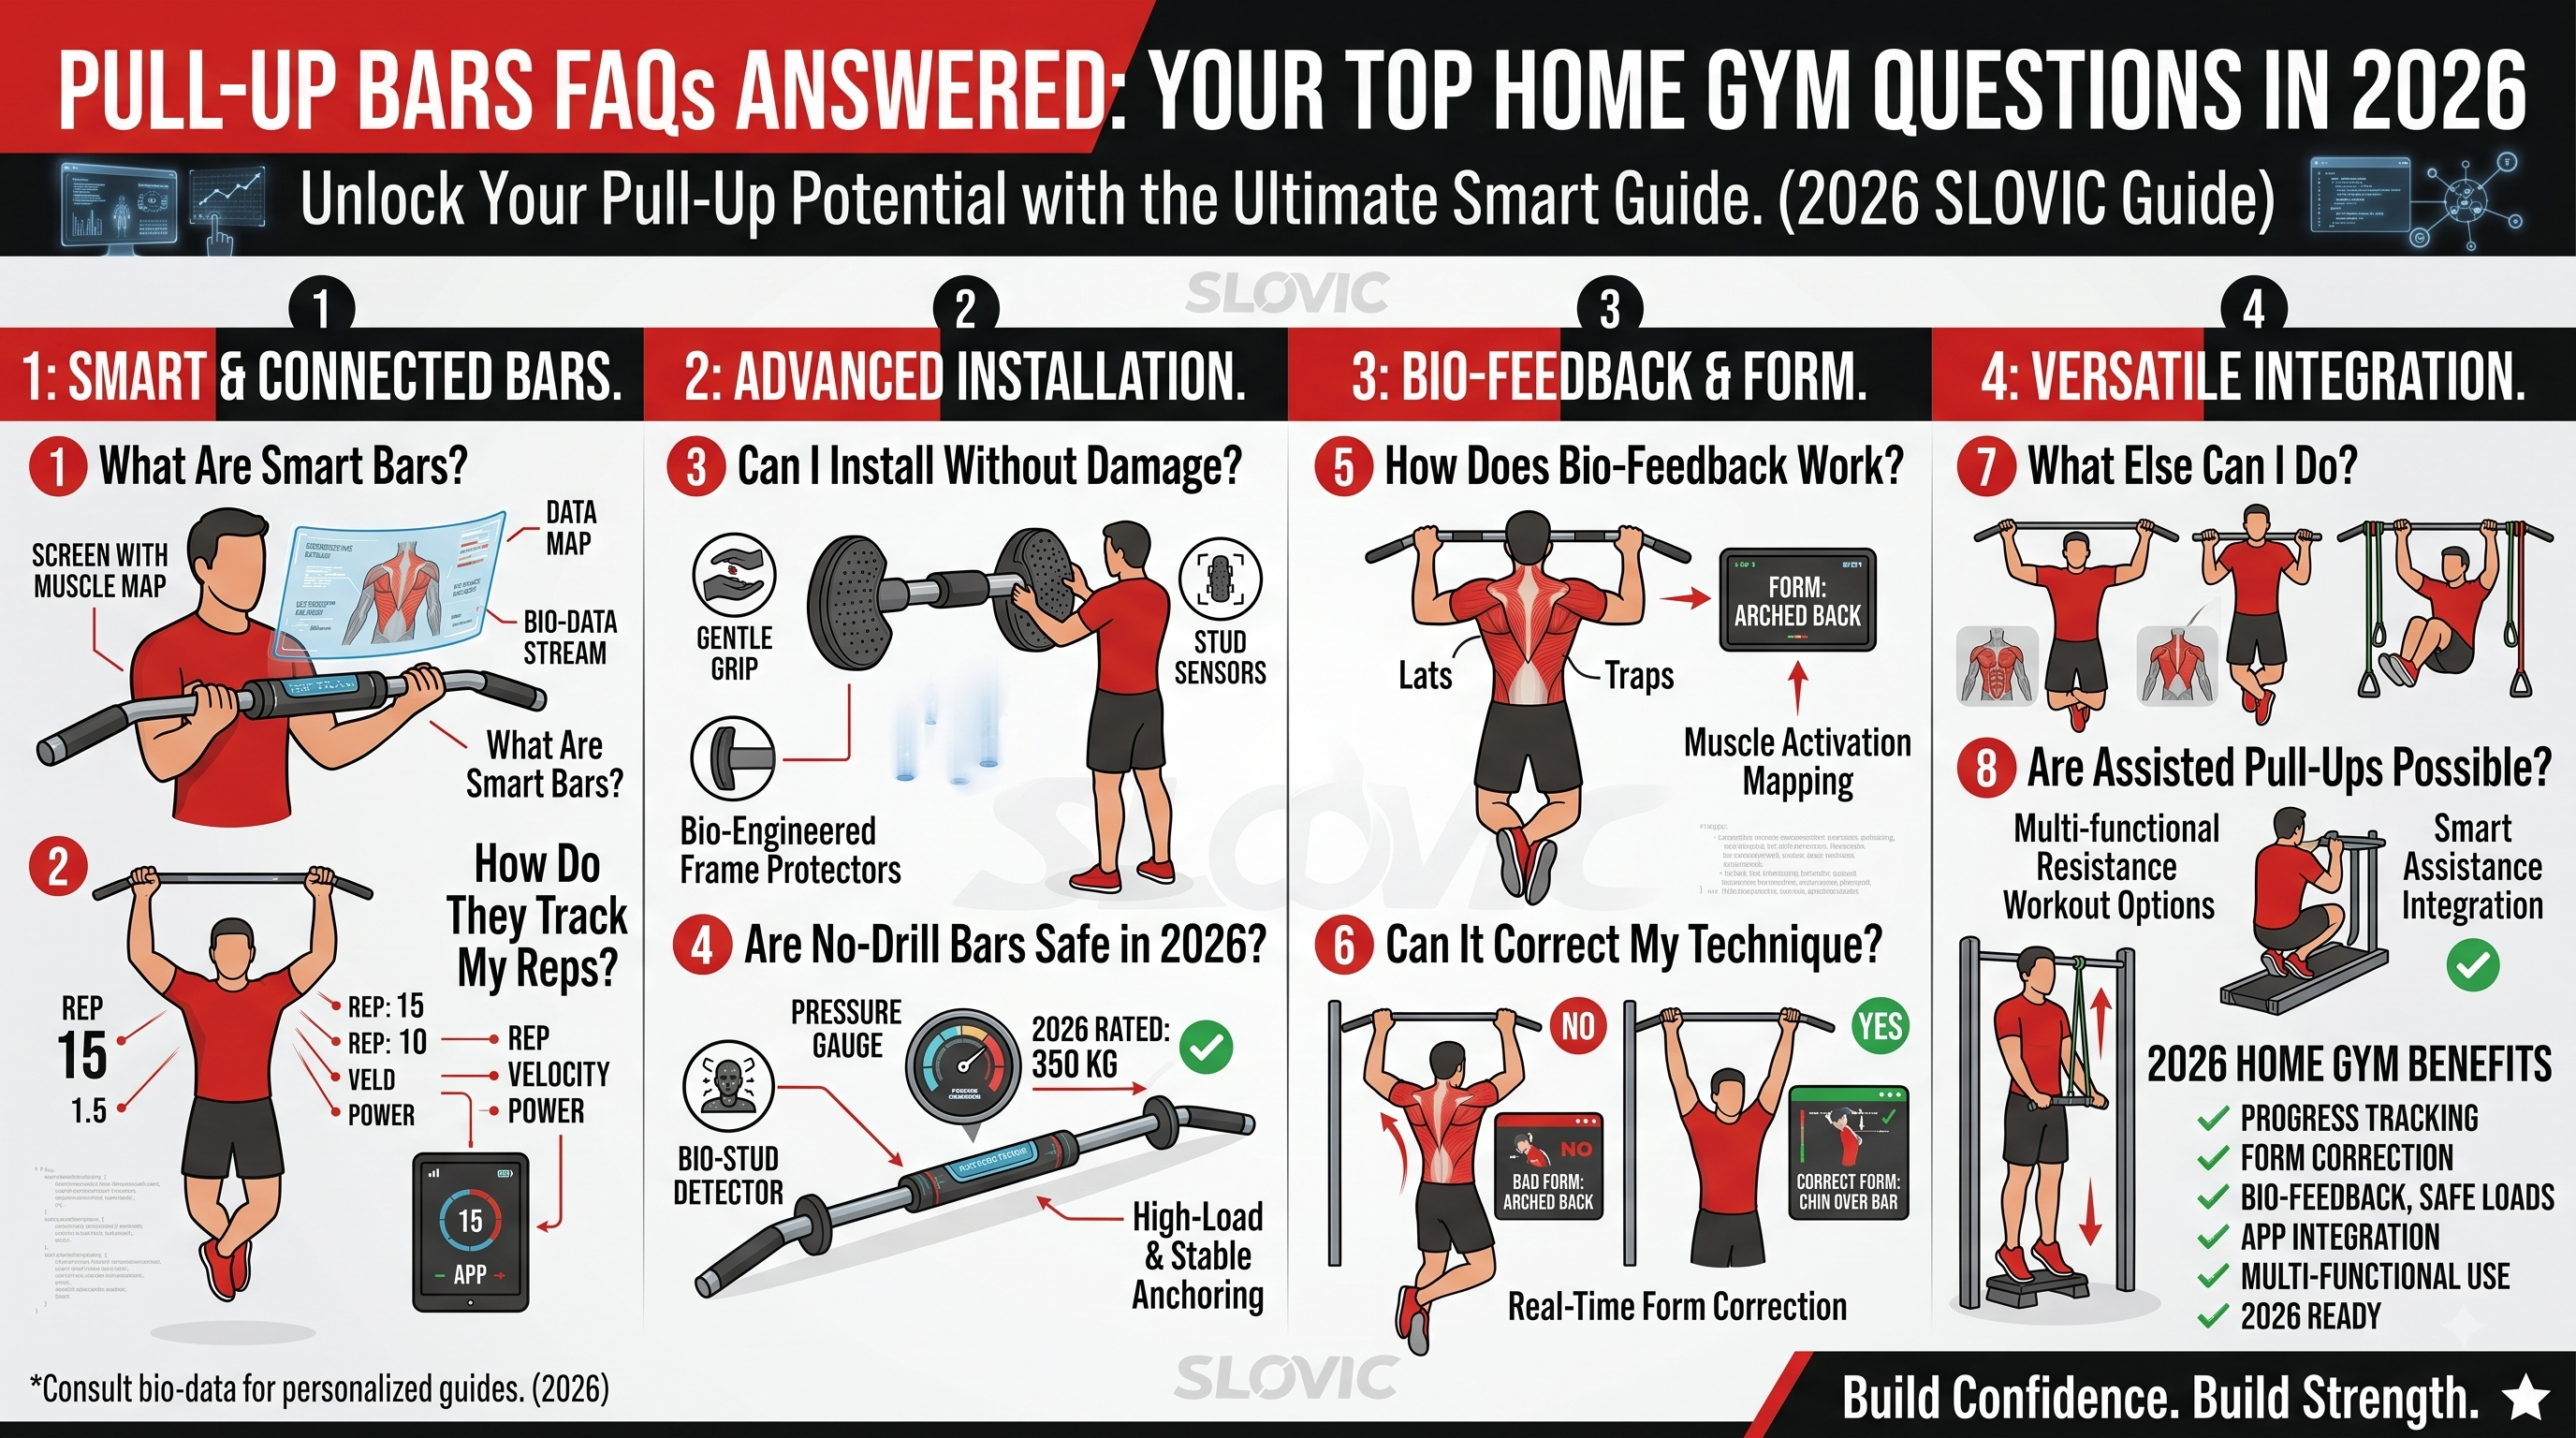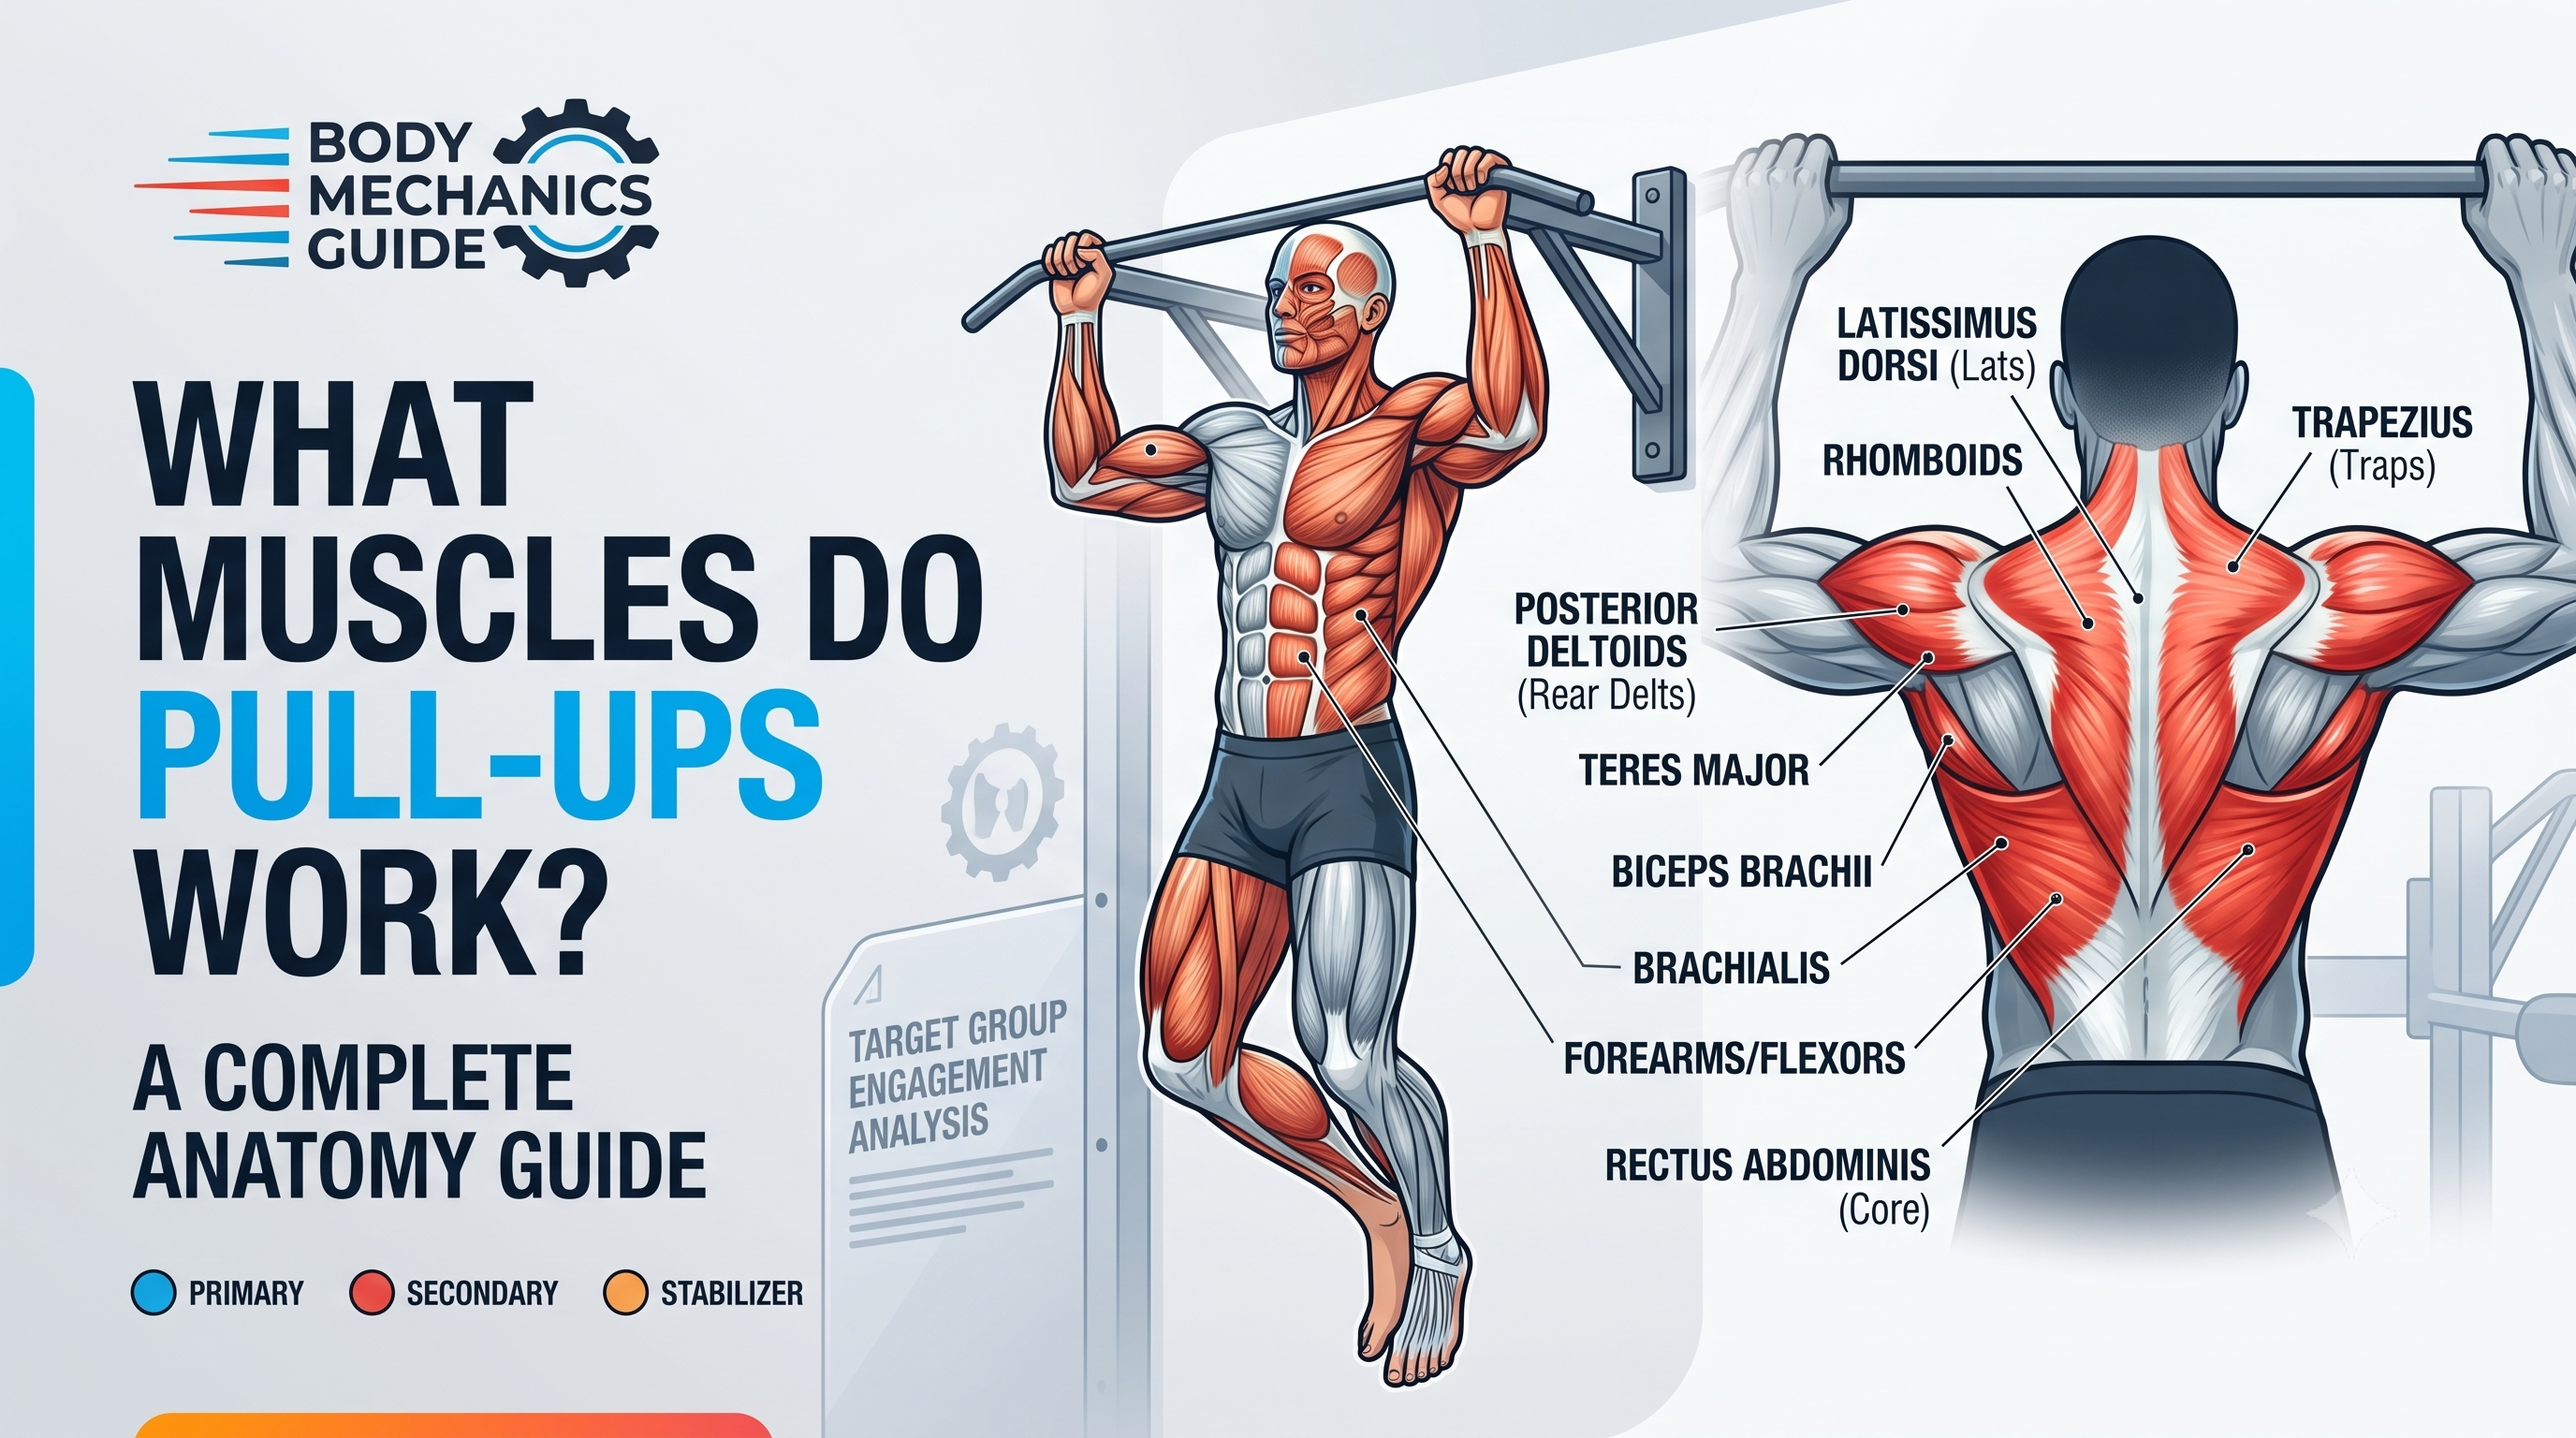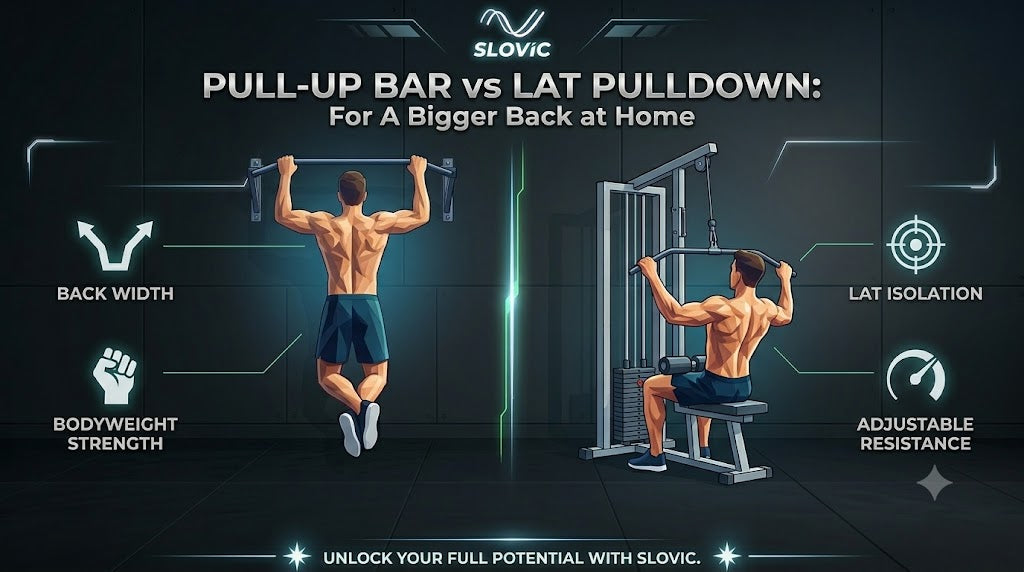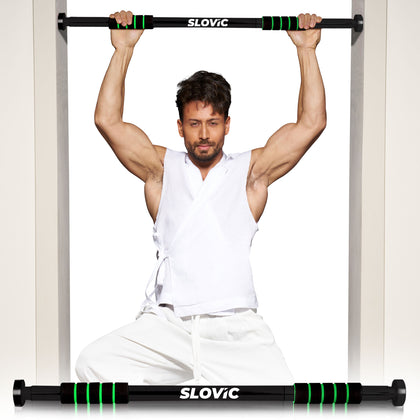

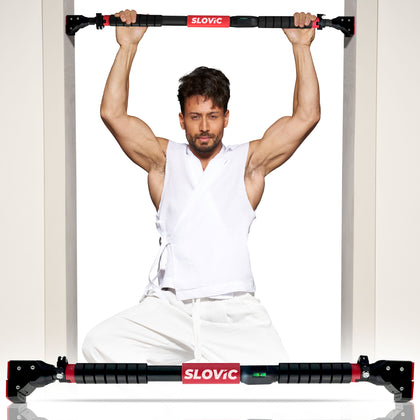
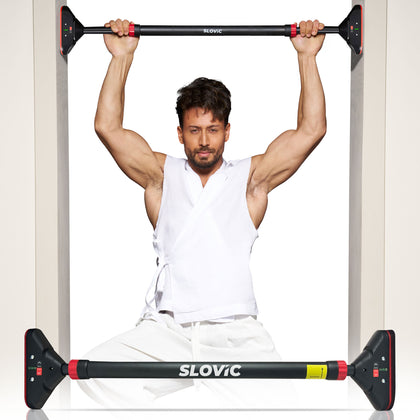

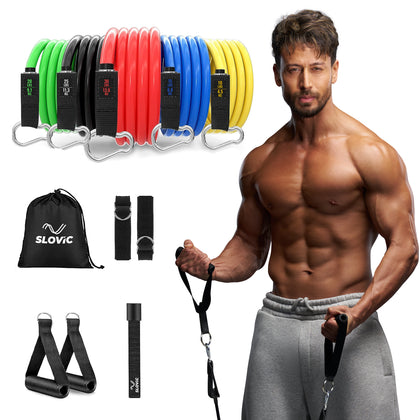






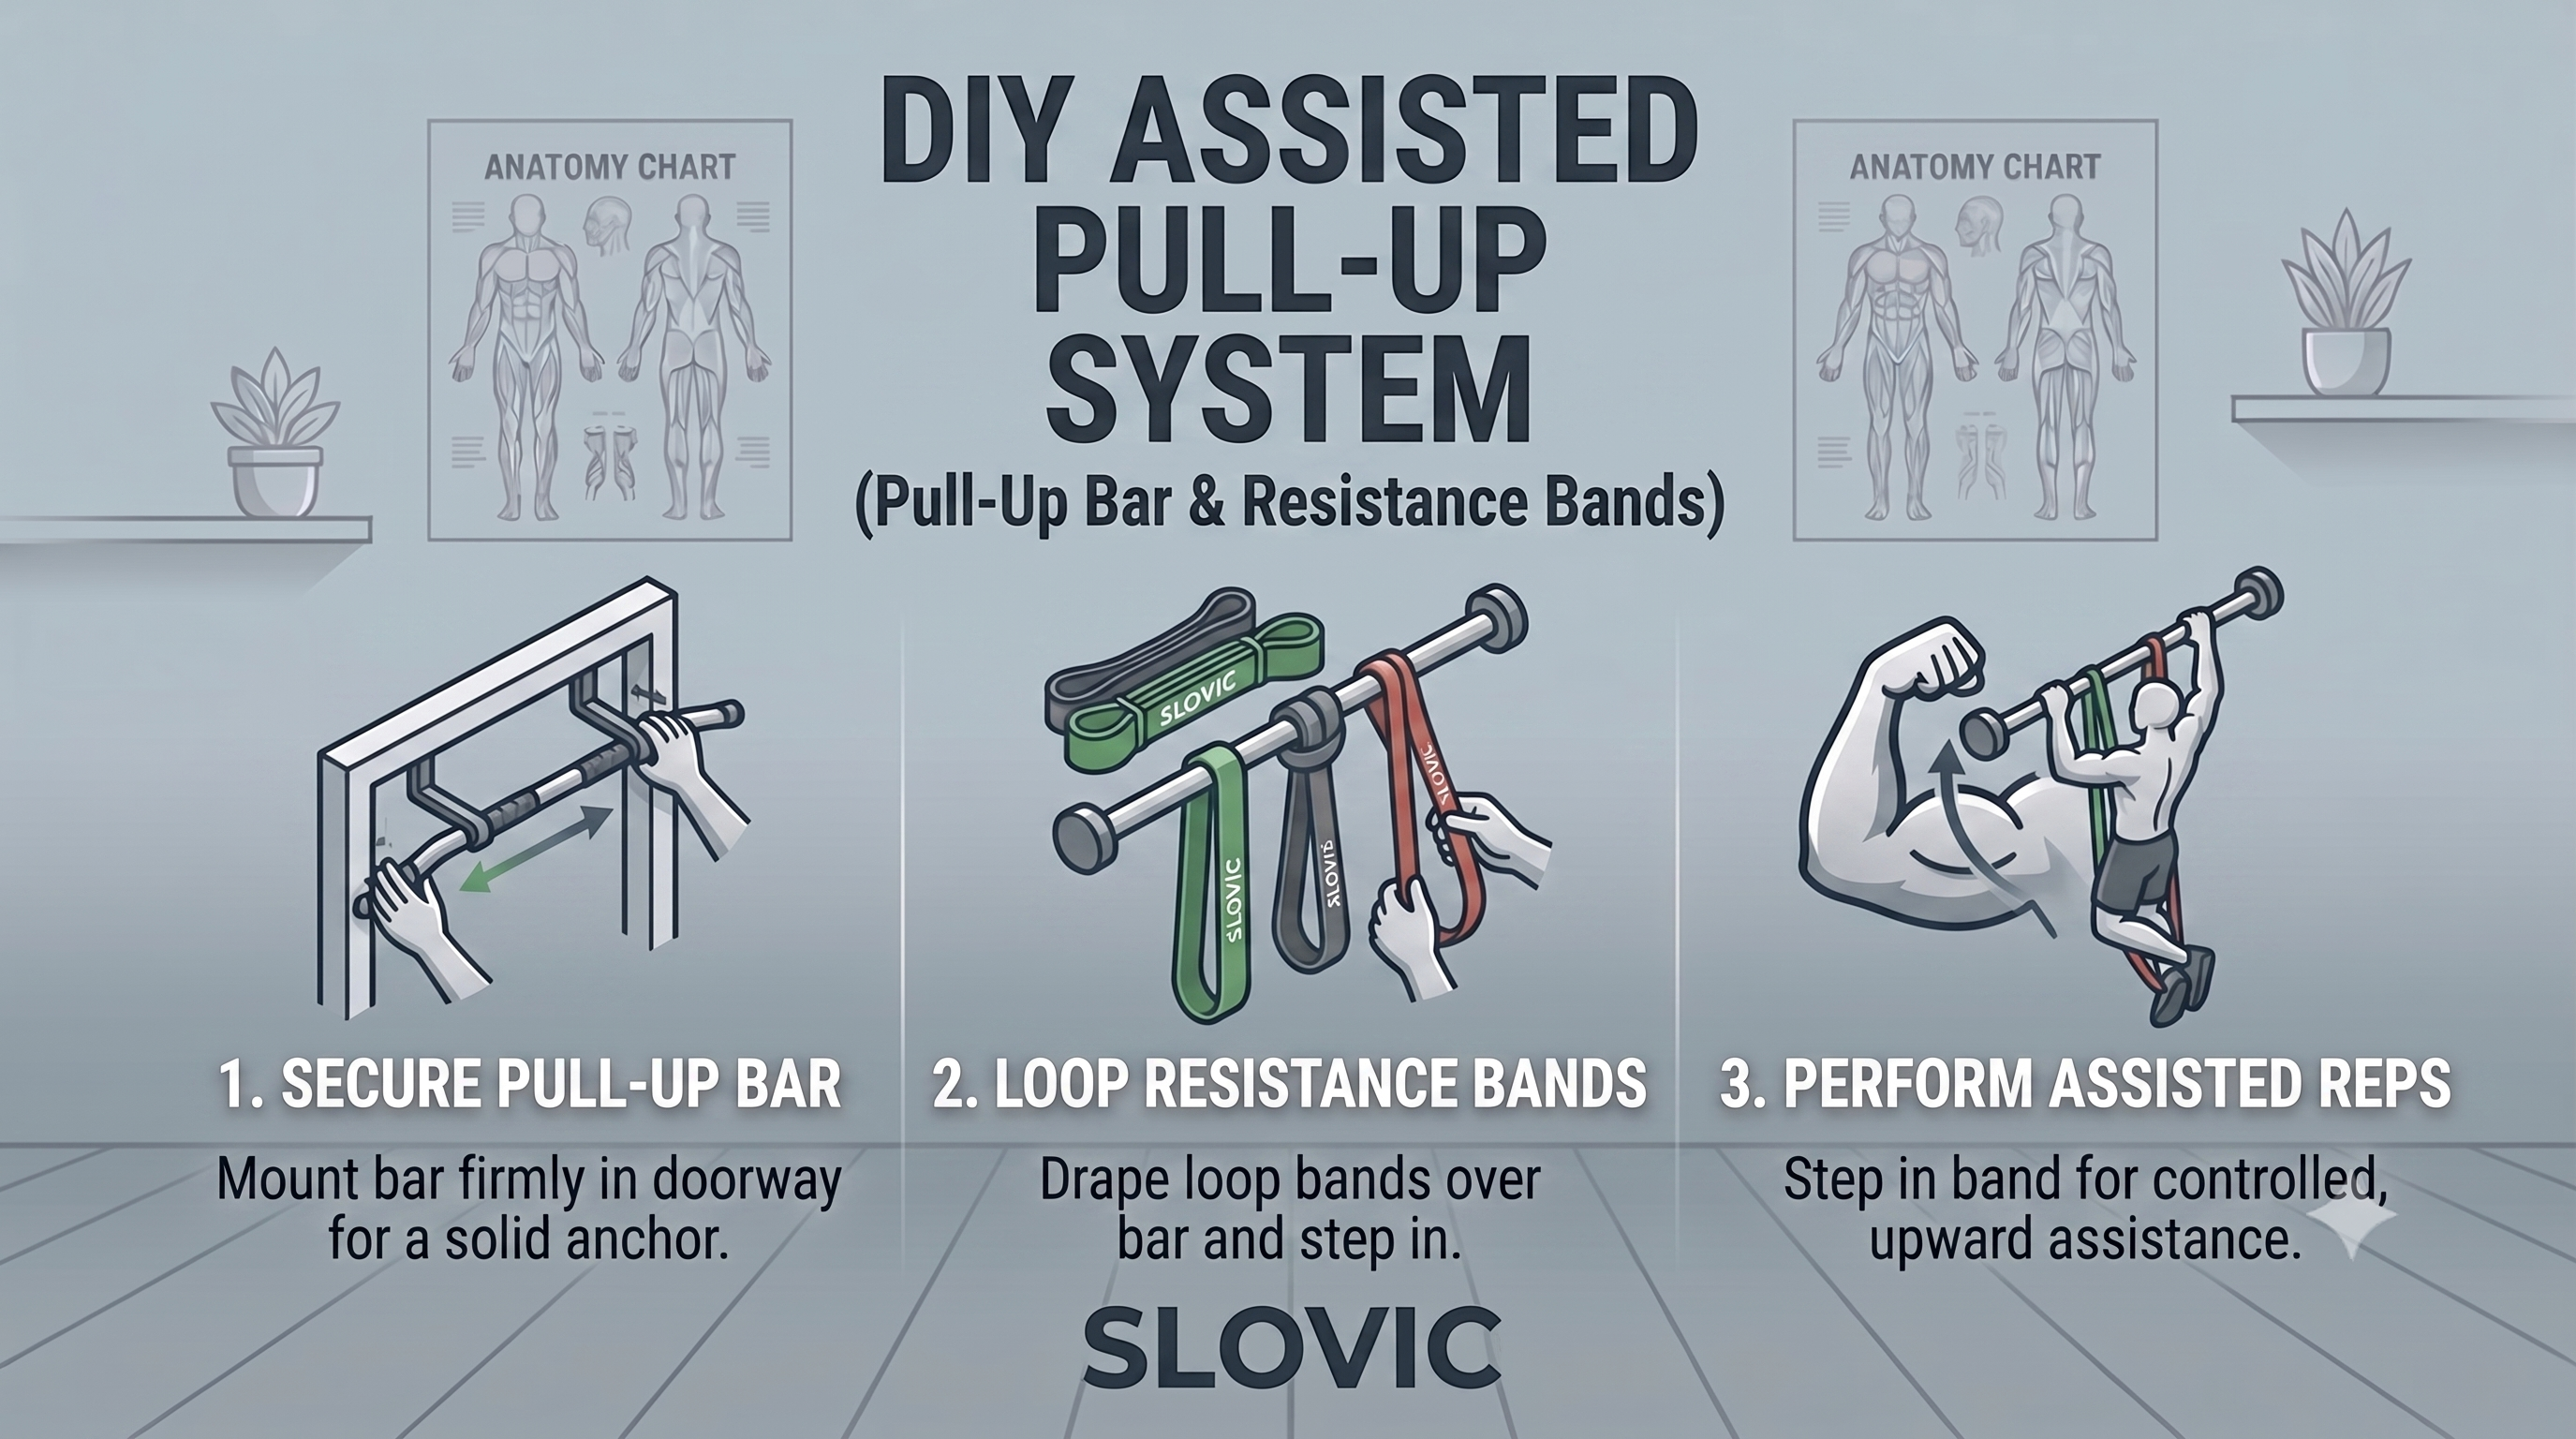
A DIY assisted pull-up machine is simply a pull-up bar combined with a resistance band that helps support your body weight during the movement. This setup mimics the function of expensive gym assisted pull-up machines—but at a fraction of the cost.
The concept is simple: loop a resistance band over your pull-up bar, place your foot or knee in the bottom loop, and the band's tension helps lift you up. As you get stronger, you switch to lighter bands until you no longer need assistance.
The Best Part? You can build this setup anywhere—your garage, bedroom doorway, or backyard—for under ₹2,000.
Why This DIY Method Is Better Than Gym Machines
| Feature | Gym Assisted Machine | DIY Band + Bar |
|---|---|---|
| Cost | ₹50,000+ | ₹1,000–₹2,000 |
| Space Required | Large footprint | Minimal |
| Resistance Type | Constant counterweight | Variable (harder at top) |
| Core Engagement | Low | High |
| Portability | Impossible | Yes |
Variable Resistance Advantage: Resistance bands provide the most assistance at the bottom (where you're weakest) and the least at the top (where you're strongest). This perfectly matches your natural strength curve, making every rep more effective than a machine's constant counterweight.
Equipment You'll Need
1. Choose Your Pull-Up Bar
The foundation of your DIY assisted pull-up machine is a sturdy pull-up bar. Here are your options:
| Type | Best For | Key Feature |
|---|---|---|
| Doorway Pull-Up Bar | Home use, renters | No drilling, fits standard doorframes |
| Wall-Mounted Pull-Up Bar | Permanent home gym | Maximum stability, supports heavy weights |
| Multiple Grip Pull-Up Bar | Variety in training | Wide, neutral, and close grips |
| Adjustable Pull-Up Bar | Multi-user households | Height-adjustable for different users |
| Portable/Foldable Pull-Up Bar | Small spaces | Folds away when not in use |
| Kids Pull-Up Bar | Younger athletes | Smaller size, lower height |
👉 Browse the full collection: Pull-Up Bars at Slovic
Budget Options:
Pro Tip: If you're a beginner or plan to do band-assisted pull-ups, a doorway pull-up bar is usually sufficient. For heavy users or intense training, go with a wall-mounted option.
2. Choose Your Resistance Band
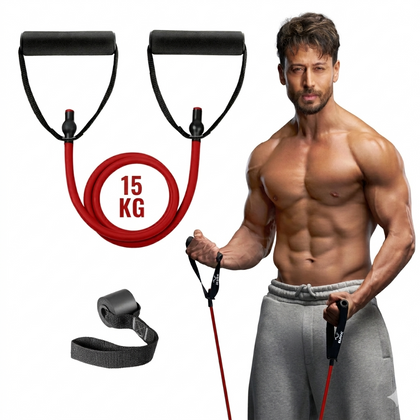
The band is what makes this a "machine." You need a loop band (not a flat therapy band) that can support your weight.
| Band Type | Best For | Resistance Level |
|---|---|---|
| Resistance Bands (Loop) | Pull-up assistance | Light to Heavy |
| Resistance Tubes | Accessory exercises | Light to Medium |
| Thera-Bands | Rehab & warm-up | Very Light |
| Mini Loop Bands | Activation exercises | Light |
| Latex Resistance Bands | Durability | All levels |
👉 Browse the full collection: Resistance Bands at Slovic
Budget Options:
How to Choose the Right Band:
| Your Current Pull-Up Ability | Recommended Band |
|---|---|
| Cannot do any pull-ups | Heavy band (Black/Purple) |
| Can do 1–3 pull-ups | Medium band (Green/Red) |
| Can do 5+ pull-ups | Light band (Yellow/Orange) |
| Can do 10+ pull-ups | Mini band for warm-up only |
Step-by-Step Setup Guide
Method 1: Foot Anchor (Beginner Friendly)
-
Secure the band: Loop one end of the resistance band over the pull-up bar. Pull the other end through to create a tight knot.
-
Position yourself: Stand on a chair or box beneath the bar.
-
Place your foot: Step one foot (or both) into the bottom loop of the band. The band should sit under your heel or the arch of your foot.
-
Grip and go: Grab the bar and let the band support your weight.
Method 2: Knee Anchor (Better Form)
-
Loop the band over the bar as described above.
-
Kneel down and place the band just above the back of your knee.
-
Grip the bar and pull up. Your body stays more vertical, engaging your core better.
Method 3: Double Band (For Beginners)
If you're very far from your first pull-up, use two bands:
-
A heavy band for primary assistance
-
A lighter band for additional support
This "drop-set" method lets you gradually reduce assistance.
The Workout Plan
Phase 1: Building Foundation (Weeks 1–2)
Frequency: 3 times per week (e.g., Monday, Wednesday, Friday)
| Exercise | Sets | Reps | Rest |
|---|---|---|---|
| Band-Assisted Pull-Ups | 5 | Max (with good form) | 90 sec |
| Negative Pull-Ups | 3 | 3–5 (slow 5-second descent) | 60 sec |
| Dead Hangs | 3 | Max time | 60 sec |
| Band Rows | 3 | 12–15 | 60 sec |
Phase 2: Building Strength (Weeks 3–4)
Switch to a lighter band.
| Exercise | Sets | Reps | Rest |
|---|---|---|---|
| Band-Assisted Pull-Ups | 5 | Max (with good form) | 90 sec |
| Negative Pull-Ups | 4 | 3–5 (slow 8-second descent) | 60 sec |
| Scapular Pull-Ups | 3 | 8–10 | 60 sec |
| Band Rows | 3 | 15 | 60 sec |
Phase 3: Transition (Weeks 5–6)
Use the drop-set method:
-
Do 1 set with your medium band
-
Immediately switch to a lighter band
-
Do another set
This builds confidence in handling your full body weight.
Phase 4: The Test (Week 7+)
Remove the band completely. Try one pull-up.
-
If you succeed: Congratulations! Now do 1 clean rep per set for a week, then aim for 2.
-
If you don't: No problem! Return to drop sets and negatives. Strength takes time.
Progression Timeline {#progression}
| Week | Band Used | Goal |
|---|---|---|
| 1–2 | Heavy (Black/Purple) | Learn form, build endurance |
| 3–4 | Medium (Green/Red) | Build strength |
| 5–6 | Drop Set (Medium + Light) | Transition to bodyweight |
| 7+ | No band | First unassisted pull-up! |
Safety Tips
-
Check your equipment: Always inspect your pull-up bar and band before each session. Look for wear, tear, or damage.
-
Secure the bar: If using a doorway bar, ensure it's properly installed and rated for your weight.
-
Use proper form: Keep shoulders down and back. Don't shrug up to your ears.
-
Breathe: Exhale as you pull up, inhale as you lower down.
-
Don't overdo it: Training 2–3 times per week is better than daily sessions that lead to injury.
-
Warm up: Always do 5 minutes of arm circles, shoulder rolls, and scapular push-ups.
Frequently Asked Questions
Can I use any resistance band for pull-up assistance?
Yes, but loop bands work best. Flat therapy bands aren't strong enough to support your body weight. For best results, use latex resistance bands or heavy-duty loop bands.
What if I don't have a pull-up bar?
You'll need one! Check out doorway pull-up bars or wall-mounted options for your home setup.
How long will it take to get my first pull-up?
With consistent training (3x per week), most people achieve their first unassisted pull-up in 4–8 weeks.
Can kids use this setup?
Absolutely! There are kids pull-up bars available with lower heights and smaller grip sizes.
What if my doorway doesn't fit a standard bar?
Look for an adjustable pull-up bar that can fit different doorway widths.
Can I use resistance tubes instead of bands?
Resistance tubes can work for lighter assistance but aren't as durable for full bodyweight support. Stick to loop bands for pull-up assistance.
Is this safe for beginners?
Yes, when done with proper form and the right band resistance. Start with a heavier band and gradually work your way down.
Final Thoughts
Building a DIY assisted pull-up machine at home is one of the smartest investments you can make in your fitness journey. For less than the cost of a gym membership, you get:
-
A complete pull-up training system
-
The ability to train anytime, anywhere
-
Progressive overload through band resistance
-
A path to your first (or 50th) pull-up
Ready to start? Browse the full range of pull-up bars and resistance bands to build your perfect home setup today.
Share This Guide
Found this helpful? Share it with a friend who's struggling with pull-ups!