







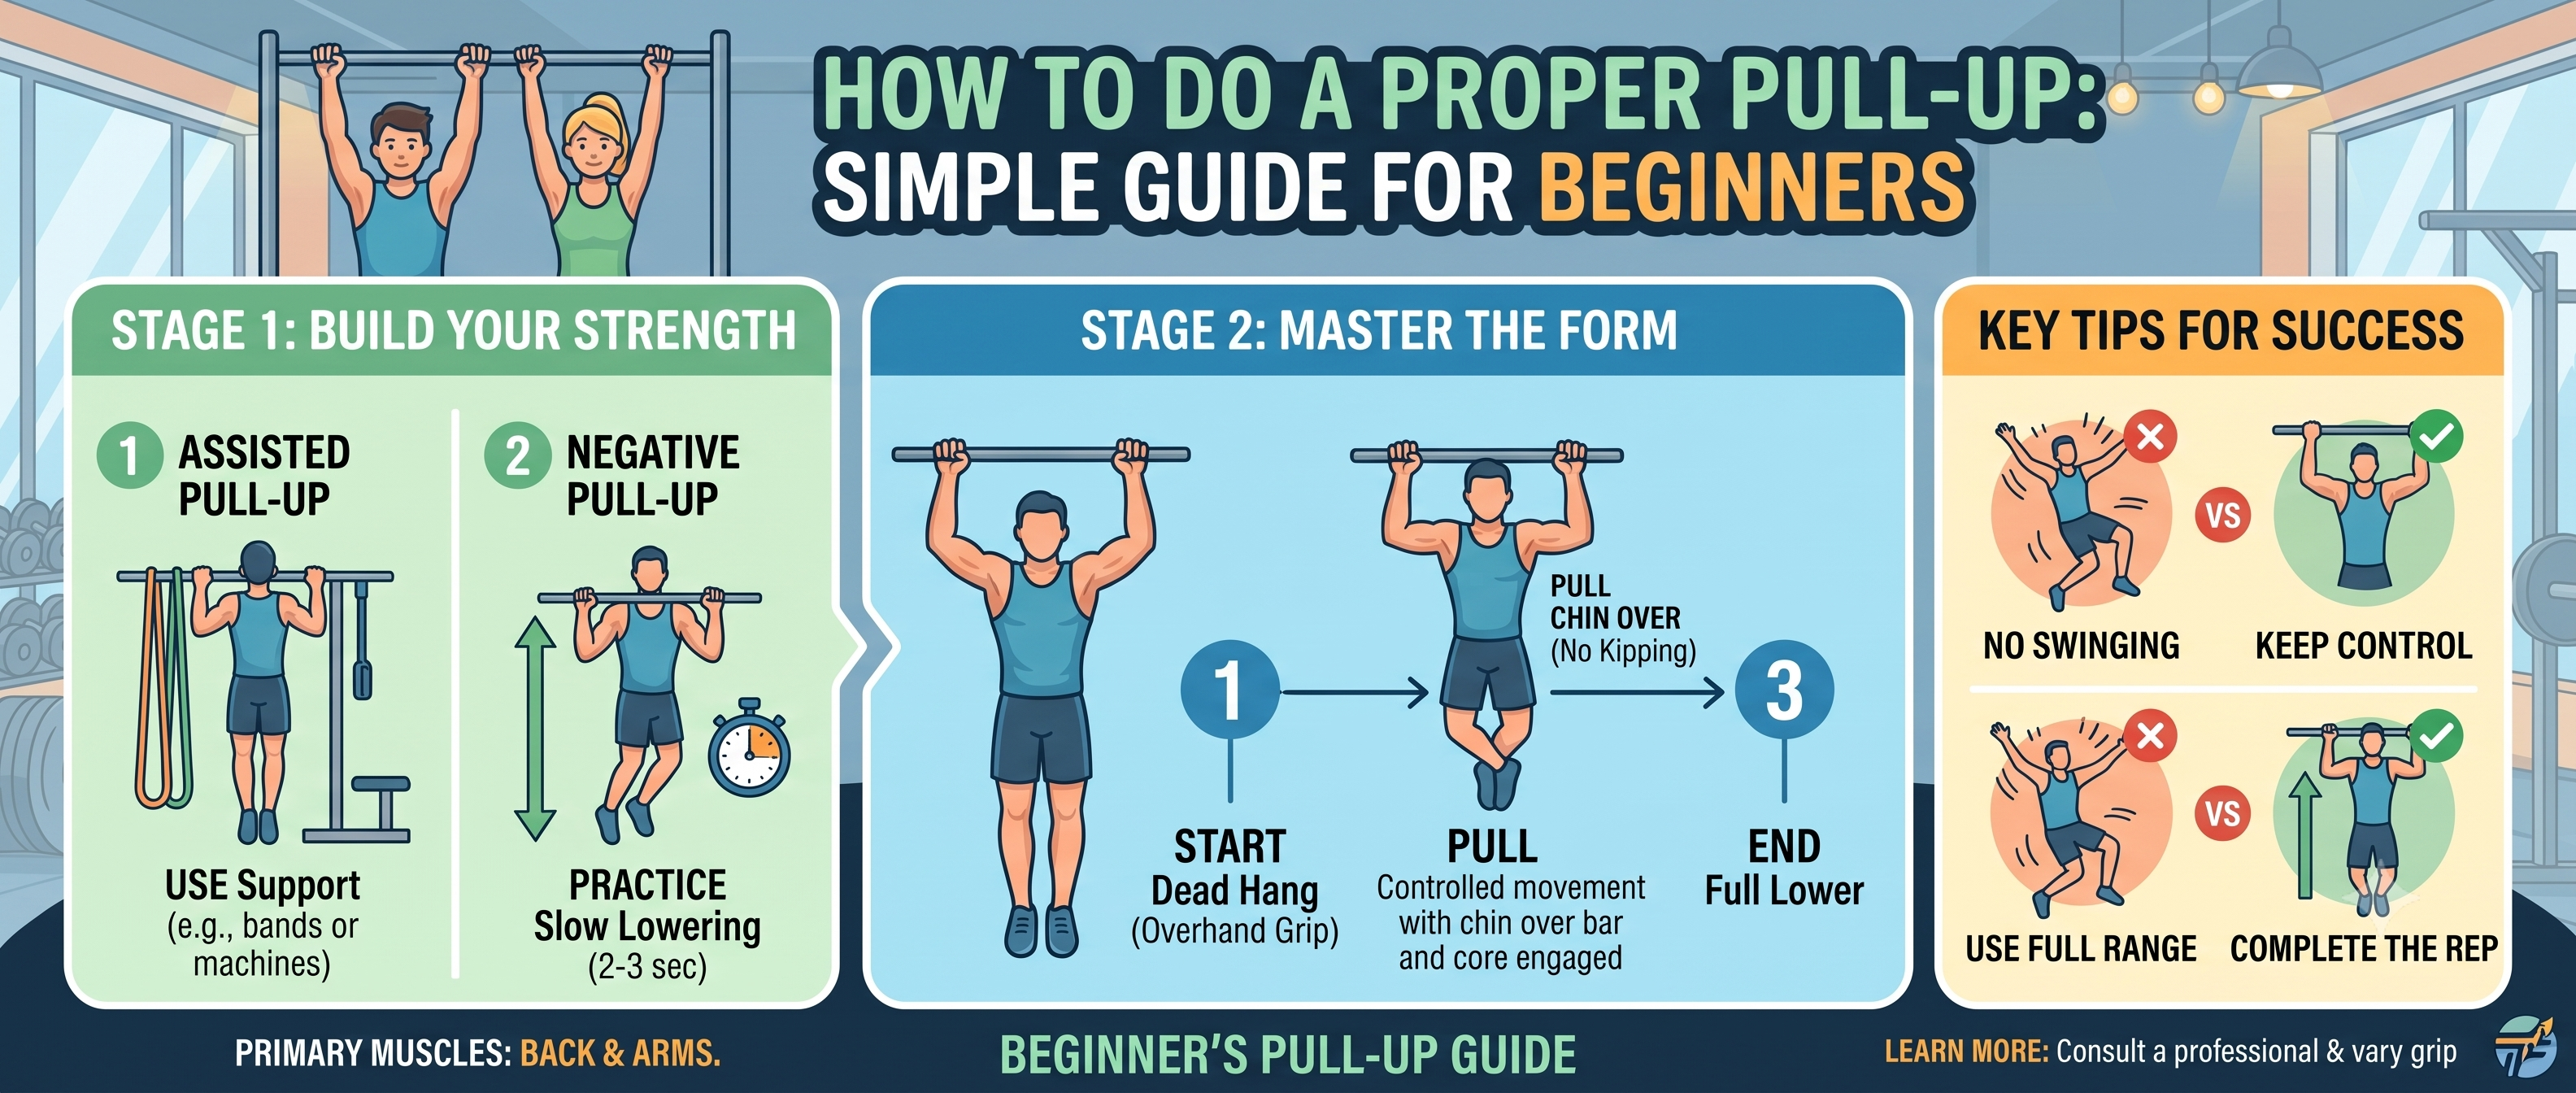
What's the Proper Way to Do a Pull-Up?
A proper pull-up starts with an overhand grip (palms facing away), hands slightly wider than shoulder-width apart. Hang with arms fully extended, engage your core and glutes, then pull your shoulder blades back and down. Drive your elbows toward the floor to lift your chin above the bar, then lower yourself with control back to a dead hang. Quality over quantity—one perfect rep beats ten sloppy ones.
Introduction
The pull-up is one of the most effective bodyweight exercises you can do—full stop. It builds real upper-body strength, improves your grip, challenges your core, and develops your back, arms, and shoulders all in one movement. Long considered an important milestone in one's fitness journey, pull-ups build upper body strength and look impressive in the gym.
But let's be honest: pull-ups are also one of the hardest exercises to learn. If you've ever hung from a bar and felt absolutely nothing happen when you tried to pull yourself up, you are in very good company. There is no definitive data on how many adults can perform a proper pull-up, but two things are clear: they are very difficult and look extremely cool.
The thing is, pull-ups aren't just hard because they involve lifting your entire body weight. They require a specific combination of grip strength, lat activation, scapular control, and core stability—and most of us don't train those things in isolation.
This guide will take you through everything: the proper technique, the muscles worked, a step-by-step progression from zero to your first rep, common mistakes to avoid, and how Slovic's premium fitness equipment can support your journey.
Why Pull-Ups Are So Valuable
The Benefits of Mastering Pull-Ups
Pull-ups offer a range of benefits that few other exercises can match:
| Benefit | How It Helps |
|---|---|
| Upper Body Strength | Builds real, functional strength in your back, arms, shoulders, and core |
| Grip Strength | Improves hand and forearm strength—linked to better overall health |
| Core Stability | Forces your core to engage throughout the entire movement |
| Posture | Strengthens back muscles that support an upright posture |
| Functional Fitness | Translates to real-world activities like climbing, carrying, and lifting |
| Confidence | Mastering a pull-up is a genuine, hard-earned display of strength and control |
Muscles Worked During a Pull-Up
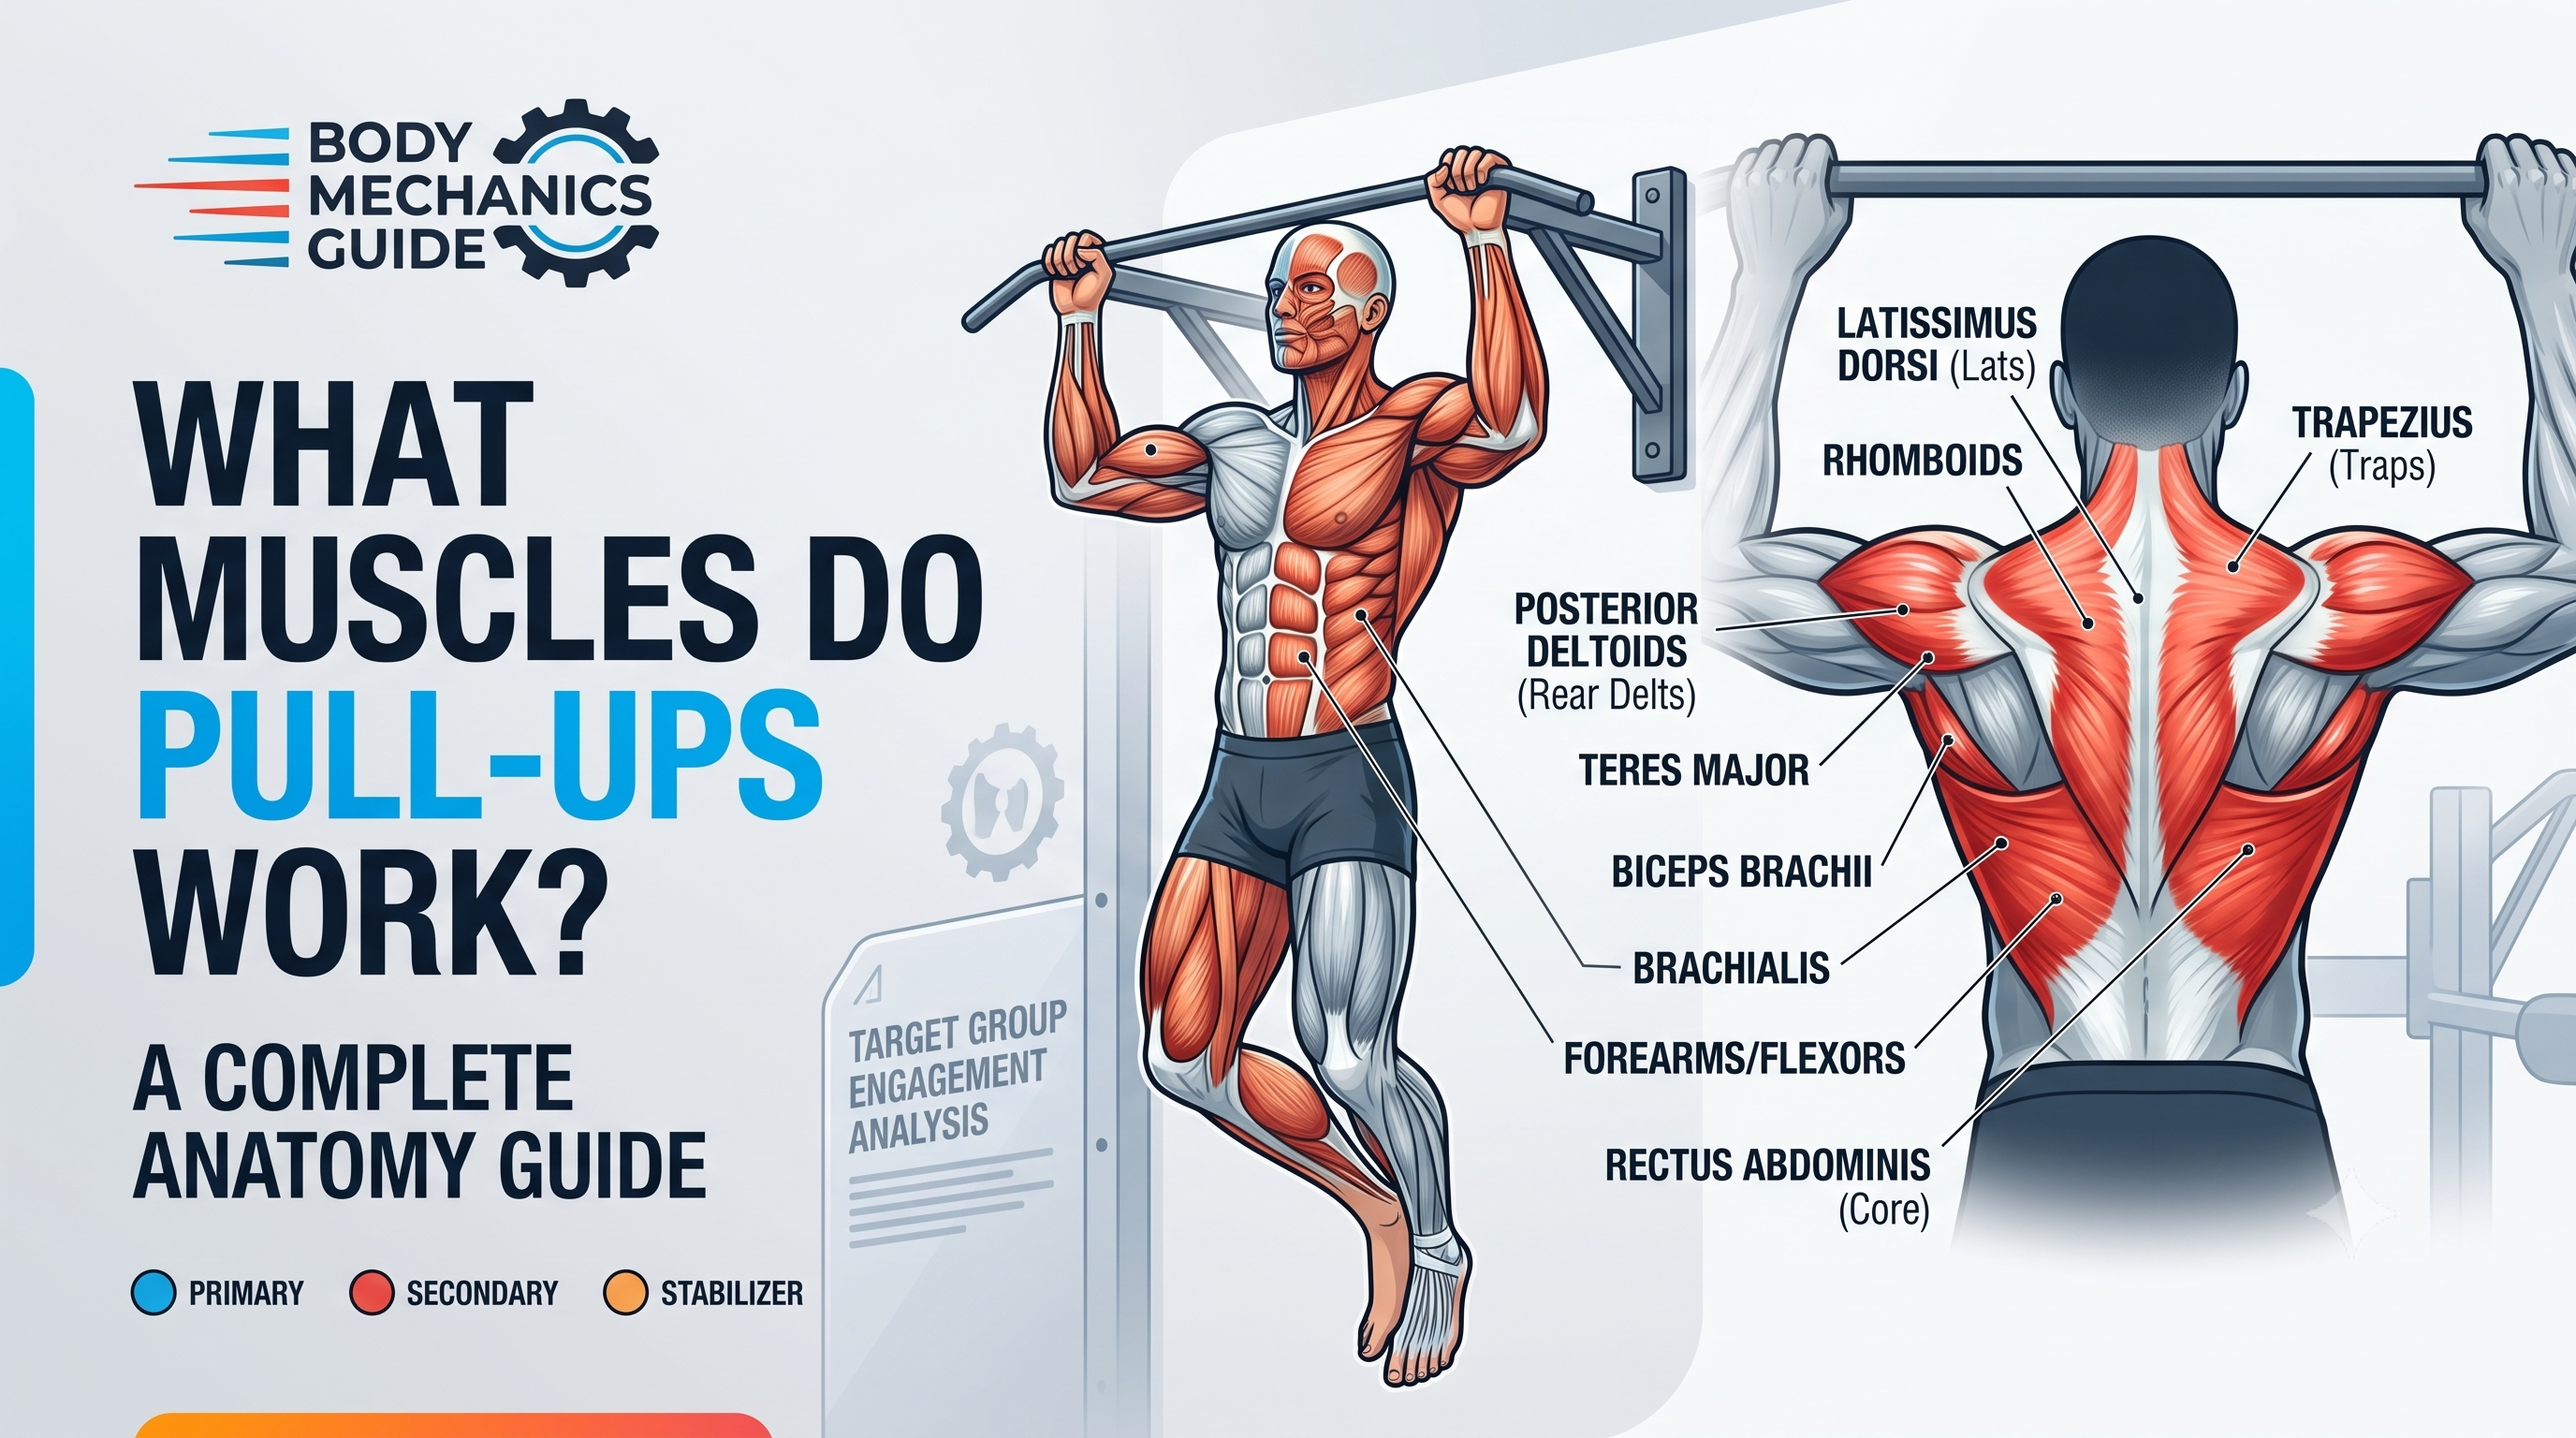
Pull-ups are a polyarticular exercise that work multiple muscle groups simultaneously:
-
Latissimus Dorsi (Lats) – The large, fan-shaped muscles in your mid-to-lower back; the primary muscle worked by pull-ups
-
Trapezius (Traps) – The large, triangular muscles that run from your neck down to your mid-back
-
Rhomboids – Muscles between your shoulder blades that retract the scapula
-
Biceps Brachii – The front of your upper arms
-
Posterior Deltoids – The back of your shoulders
-
Core Muscles – Abdominals and obliques that stabilise your body
-
Forearms – Grip strength muscles that keep you on the bar
💡 Pro Tip: When performing a pull-up, focus on not just using your arms. Putting too much emphasis on your biceps will make you tire quickly and diminish how effectively you're targeting your back. Your lats should be doing the heavy lifting.
How to Do a Proper Pull-Up: Step-by-Step
Step 1: Set Up Your Grip
Grab the pull-up bar with an overhand grip (palms facing away from your body) with your hands slightly wider than shoulder-width apart. If the bar is too high to grab by jumping, use a box or step to get into position.
Alternative grips:
-
Chin-up grip (palms facing toward you) – More biceps engagement; generally considered easier for beginners
-
Neutral grip (palms facing each other) – More joint-friendly
Step 2: Find an Engaged Hanging Position
Once you're hanging, your arms and core should feel engaged, rather than like you're hanging limply from the bar. Think about:
-
Pulling your shoulder blades back and down (away from your ears)
-
Bracing your core as if preparing for a punch
-
Squeezing your glutes
-
Keeping your legs straight or slightly crossed
This is called a dead hang with engagement – and it's the foundation of a good pull-up.
Step 3: Initiate the Pull
Instead of just trying to pull with your hands, think about pulling your elbows toward the floor. This mental cue helps engage your lats rather than just your arms.
-
Pull your shoulder blades back and down
-
Drive your elbows downward and backward
-
Keep your core tight throughout the movement
-
Exhale as you pull up
The goal is to pull your chest to the bar, not just your chin.
Step 4: Reach the Top
Continue pulling until your chin clears the bar or your chest approaches the bar. For maximum engagement of your back muscles, aim to bring the bar toward your collarbone.
-
Pause at the top for a brief moment
-
Maintain tension in your back muscles
-
Avoid jerky or uncontrolled movements
Step 5: Slowly Descend
This is where the magic happens. The lowering phase (the eccentric portion) is just as important as the pulling phase—if not more so.
-
Lower yourself with control
-
Aim for a 3–5 second descent
-
Maintain core engagement throughout
-
Return to a full dead hang with arms fully extended
🔑 Key Insight: "You shouldn't focus so much on pulling your body above the bar, but rather on controlling your body weight on the way down. This is key".
Step 6: Repeat or Drop Off
If one rep is all you've got, safely drop off the bar or step onto your box. If you're ready for another rep, repeat the process from Step 2!
Pull-Up Progression: From Zero to Your First Rep
Most people can't do a pull-up on their first try—and that's completely normal. Here's a structured progression to build the necessary strength.
Level 1: Dead Hangs
Before you work on pulling yourself up, you need to be comfortable hanging.
How to do it:
-
Grip the bar with an overhand grip, hands slightly wider than shoulder-width
-
Simply hang with your arms fully extended
-
Keep your shoulders pulled back and down (away from your ears)
-
Brace your core lightly and breathe
Goal: Work up to 3 sets of 45–60 second hangs with good shoulder engagement.
Level 2: Scapular Pull-Ups
This is the very first movement of a pull-up—and getting comfortable with it is huge.
How to do it:
-
From a dead hang, engage your shoulder blades by pulling them back and down
-
This will lift your body slightly without bending your elbows
-
Return to the hang with control
Goal: 3 sets of 8–10 reps.
Level 3: Negative Pull-Ups
Negative pull-ups are only the downward portion of a pull-up. They're a highly effective way to build strength.
How to do it:
-
Use a box or step to get your chin above the bar
-
Hold the top position briefly
-
Lower yourself down with as much control as possible
-
Aim for a 3–5 second descent
Goal: 3 sets of 6–10 reps.
Level 4: Isometric Holds
These train the muscles in the position where most people struggle most.
How to do it:
-
Use a box or step to get your chin above the bar
-
Hold that top position for as long as you can
-
Squeeze your back muscles hard
-
Rest and repeat
Goal: 3 sets of holds, increasing duration over time.
Level 5: Band-Assisted Pull-Ups
Loop a resistance band over the bar and place one foot (or knee) in it. The band offloads some of your body weight so you can complete the full movement.
How to do it:
-
Loop a thick resistance band over the bar
-
Place one foot or knee in the band
-
Perform a full pull-up with the band providing assistance
-
As you get stronger, switch to a lighter band
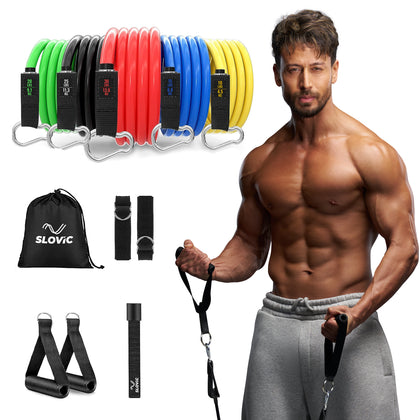
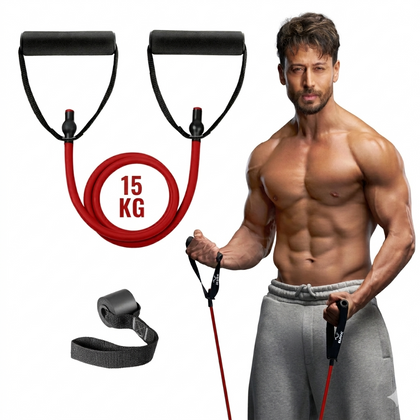
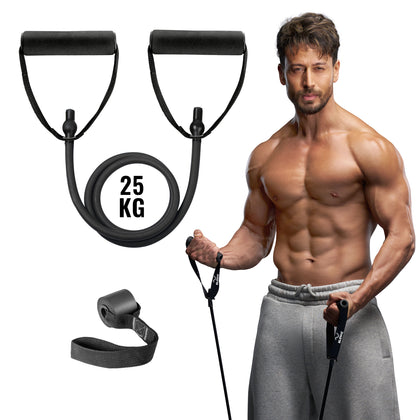
🏋️ Enhance your pull-up training with Slovic's Resistance Bands – heavy-duty pull-up bands made from 100% Malaysian latex, durable, odourless, and skin-friendly.
Related Collections:
-
Resistance Tubes – Portable assistance
-
Thera Bands – Professional physiotherapy bands
-
Mini Loop Bands – Perfect for glute and hip activation
-
Resistance Bands Under ₹300 – Budget-friendly options
-
Resistance Band Under ₹500 – Great value
-
Latex Resistance Bands – Natural latex durability
Level 6: Your First Unassisted Pull-Up
Once you can do 3 sets of 8–10 band-assisted pull-ups with a light band, it's time to attempt your first unassisted pull-up.
Tips for success:
-
Start with a fresh grip
-
Engage your core and glutes
-
Pull your shoulder blades back and down
-
Drive your elbows toward the floor
-
Don't give up—one rep is all you need to start!
Common Pull-Up Mistakes and How to Fix Them
Mistake 1: Relying on Momentum
The Problem: Swinging or kipping your way to a pull-up reduces muscle engagement and increases injury risk. It's also not considered a "strict" rep.
The Fix: Focus on controlled, deliberate movement. No kicking, jerking, or relying on momentum.
Mistake 2: Shoulder Shrugging
The Problem: When your shoulders end up by your ears, you increase injury risk and reduce correct muscle engagement.
The Fix: Keep your shoulders pulled back and down throughout the movement. Think about "packing" your shoulders.
Mistake 3: Incomplete Range of Motion
The Problem: Only lowering halfway or not clearing your chin above the bar.
The Fix: It's better to do two full reps than ten partial reps. Always aim for quality reps and a full range of motion.
Mistake 4: Neck Strain
The Problem: Craning or overextending your neck just to clear your chin over the bar.
The Fix: Stare straight ahead, not up. Your chin should clear the bar naturally as your chest approaches it.
Mistake 5: Neglecting the Eccentric Phase
The Problem: Dropping quickly from the top position.
The Fix: Control your descent—aim for a 3–5 second lowering phase. This is where much of the strength gain happens.
Pull-Up Variations for All Levels
Beginner Variations
| Variation | Description |
|---|---|
| Dead Hangs | Simply hang from the bar with engaged shoulders |
| Scapular Pull-Ups | Pull shoulder blades down without bending elbows |
| Negative Pull-Ups | Lower yourself slowly from the top position |
| Band-Assisted Pull-Ups | Use a resistance band to offset some body weight |
Intermediate Variations
| Variation | Description |
|---|---|
| Chin-Ups | Palms facing toward you—more biceps engagement |
| Neutral Grip Pull-Ups | Palms facing each other—more joint-friendly |
| Wide Grip Pull-Ups | Hands 3–4 inches wider than usual—more lat engagement |
| Close Grip Pull-Ups | Hands closer together—more biceps and grip strength |
Advanced Variations
| Variation | Description |
|---|---|
| Weighted Pull-Ups | Add weight with a belt or vest |
| L-Sit Pull-Ups | Keep legs extended straight out in front of you |
| Typewriter Pull-Ups | Move side to side at the top position |
| One-Arm Pull-Ups | The ultimate test of upper body strength |
Sample Training Plan
Week 1-2: Foundation
| Day | Exercise | Sets x Reps |
|---|---|---|
| Monday | Dead Hangs | 3 x 20-30 sec |
| Monday | Scapular Pull-Ups | 3 x 8 |
| Wednesday | Dead Hangs | 3 x 25-35 sec |
| Wednesday | Negative Pull-Ups | 3 x 5 |
| Friday | Dead Hangs | 3 x 30-40 sec |
| Friday | Isometric Holds | 3 x 5-10 sec |
Week 3-4: Building Strength
| Day | Exercise | Sets x Reps |
|---|---|---|
| Monday | Negative Pull-Ups | 3 x 6-8 |
| Monday | Band-Assisted Pull-Ups | 3 x 5-8 |
| Wednesday | Negative Pull-Ups | 3 x 8-10 |
| Wednesday | Scapular Pull-Ups | 3 x 10 |
| Friday | Isometric Holds | 3 x 10-15 sec |
| Friday | Band-Assisted Pull-Ups | 3 x 8-10 |
Week 5-6: First Rep Attempt
| Day | Exercise | Sets x Reps |
|---|---|---|
| Monday | Band-Assisted Pull-Ups (light band) | 3 x 8-10 |
| Monday | Negative Pull-Ups | 3 x 5-8 |
| Wednesday | Attempt 1 Unassisted Pull-Up! | 3 x 1 |
| Wednesday | Band-Assisted Pull-Ups | 3 x 5 |
| Friday | Band-Assisted Pull-Ups (light band) | 3 x 10 |
| Friday | Isometric Holds | 3 x 15-20 sec |
How Slovic Supports Your Pull-Up Journey
Slovic offers a comprehensive range of fitness equipment to support every stage of your pull-up journey:
Pull-Up Bars
-
Pull-Up Bars – Complete Collection – Explore all options
-
Wall Mounted Pull-Up Bar – Heavy-duty strength training
-
Doorway Pull-Up Bar – Easy installation for home workouts
-
Multiple Grip Pull-Up Bar – Versatile training with wide, narrow, neutral, and hammer grips
-
Portable Foldable Pull-Up Bar – Compact and travel-friendly
-
Adjustable Pull-Up Bar – Grows with your fitness level
-
Pull-Up Bar Under ₹1000 – Budget-friendly options
-
Pull-Up Bar Under ₹1500 – Great value for money
-
Pull-Up Bar Under ₹2000 – Premium features at an affordable price
-
Kids Pull-Up Bar – Designed specifically for children
-
Discover Your Ideal Pull-Up Bar Today – Find the perfect fit for your needs
Resistance Bands for Assistance
-
Resistance Bands – Heavy-duty pull-up bands
-
Resistance Tubes – Portable assistance
-
Thera Bands – Professional physiotherapy bands
-
Mini Loop Bands – Perfect for activation
-
Resistance Bands Under ₹300 – Budget-friendly
-
Resistance Band Under ₹500 – Great value
-
Resistance Tubes Under ₹300 – Affordable tubes
-
Resistance Tubes Under ₹500 – Premium quality
-
Latex Resistance Bands – Durable natural latex
-
Latex Resistance Tubes – High-quality tubes
-
Latex Thera Bands – Professional-grade
Yoga Accessories for Warm-Up & Recovery
-
Yoga Accessories – Complete collection
-
Yoga Mats – Comfortable and non-slip
-
Yoga Mats Under ₹500 – Budget-friendly
-
Yoga Mats Under ₹1000 – Great quality
-
Yoga Mats Under ₹1500 – Premium options
-
Kids Yoga Mat – Designed for children
-
Anti-Burst Gym Ball – Perfect for core work
Frequently Asked Questions
Q: How long does it take to do your first pull-up?
A: It really depends on your starting point. If you're training consistently 2–3 times per week, most people see their first pull-up within 6–12 weeks. If you're new to strength training altogether, give yourself more time. Progress won't always look like getting closer to the bar—sometimes it's holding a dead hang for longer, or doing a slower negative. That still counts.
Q: What's the difference between a pull-up and a chin-up?
A: The grip. In a pull-up, your palms face away from you (overhand). In a chin-up, your palms face toward you (underhand). The chin-up brings your biceps into the movement more, which is why many people find it a bit easier to start with. Both exercises train your lats, upper back, and arms, just with slightly different emphasis.
Q: Why can't I do a pull-up even though I work out regularly?
A: Pull-ups are very specific. You can be genuinely fit and strong and still find them nearly impossible if you haven't trained the exact muscles, movement patterns, and grip strength they require. The progressions above target exactly what you're missing.
Q: How many pull-ups should I be able to do?
A: There's no magic number that you "should" hit. One perfect, controlled pull-up is worth ten sloppy ones. That said, if you're building towards a benchmark, being able to do 3–5 strict reps is an amazing goal for most people, with 8–10 reps representing a very strong level of upper-body pulling strength.
Q: Can women do pull-ups?
A: Absolutely. Women typically carry more of their muscle mass in their lower body and less in their upper body compared to men, which means pull-ups tend to be a bigger starting challenge. But strength is very trainable. Women who follow a structured progression consistently get there—and the sense of achievement when you nail your first strict rep is something else entirely.
Q: Do I need to lower myself down completely?
A: Yes! It helps build strength if you lower yourself down completely. The eccentric (lowering) phase is where much of the strength gain happens. Consider starting with whatever is most comfortable, and slowly work your way towards lowering yourself down all the way.
Q: What if I can't even do a single pull-up?
A: Start with the progression above: dead hangs, scapular pull-ups, negative pull-ups, and band-assisted pull-ups. Consider starting with push-ups to build arm and upper-body strength. You'll get there with consistency.
Safety First: Important Guidelines
Safety is paramount when performing pull-ups:
-
Always warm up for 5–10 minutes before starting
-
Ensure the bar is securely fitted before each use
-
Check the weight capacity – never exceed the recommended limit
-
Focus on proper form over quantity
-
Listen to your body – stop if you feel pain (not to be confused with muscle burn)
-
Those with shoulder injuries, elbow pain, or any upper-body joint issues should prioritise rehab and strengthening work before attempting pull-ups
-
Inspect equipment regularly for wear, tear, or loose fittings
Final Thoughts
Pull-ups are one of those exercises that feel impossible right up until they don't. The gap between "I can't do one" and "I just did three" can close faster than you'd expect when you're training the right things consistently.
Remember:
-
Start with the progressions
-
Be patient with yourself
-
Celebrate every bit of progress along the way
-
Quality over quantity—one perfect rep is worth ten sloppy ones
-
Consistency beats intensity—train 2–3 times per week
Whether you're aiming for your first rep or your tenth, every pull-up you do builds strength, confidence, and resilience. You've absolutely got this.
Ready to start your pull-up journey? Explore the full Slovic pull-up bar collection and find the perfect equipment for your home gym.
Disclaimer: This content is for informational purposes only. Exercise results may vary depending on individual factors such as fitness level, consistency, and body composition. Consult a healthcare or fitness professional before starting any exercise program, especially if you have pre-existing medical conditions.

,%20hands%20slightly%20wider%20than%20shoulder-width%20apart.%20Hang%20with%20arms%20fully%20extended,%20e...)